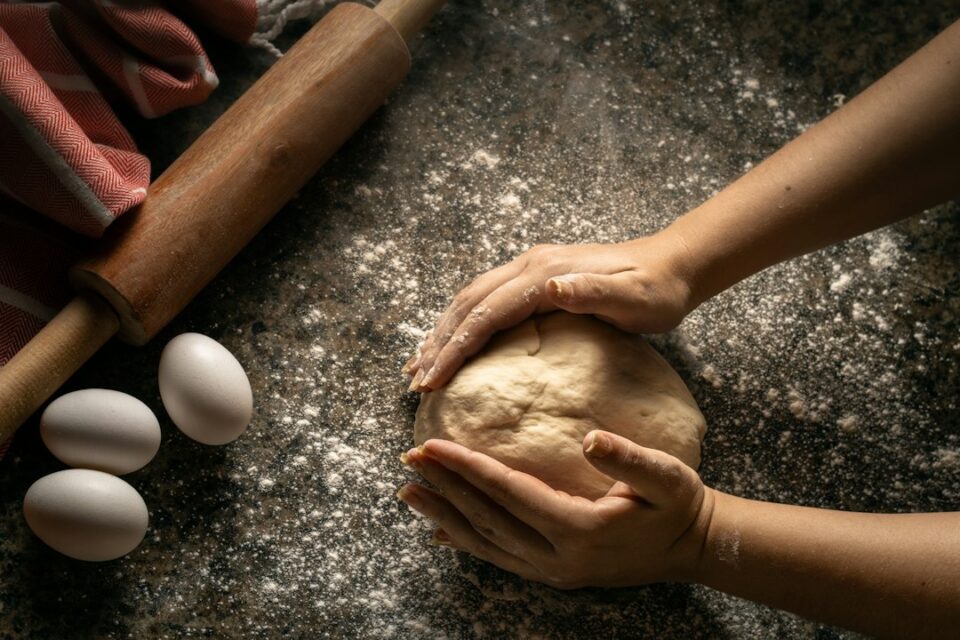
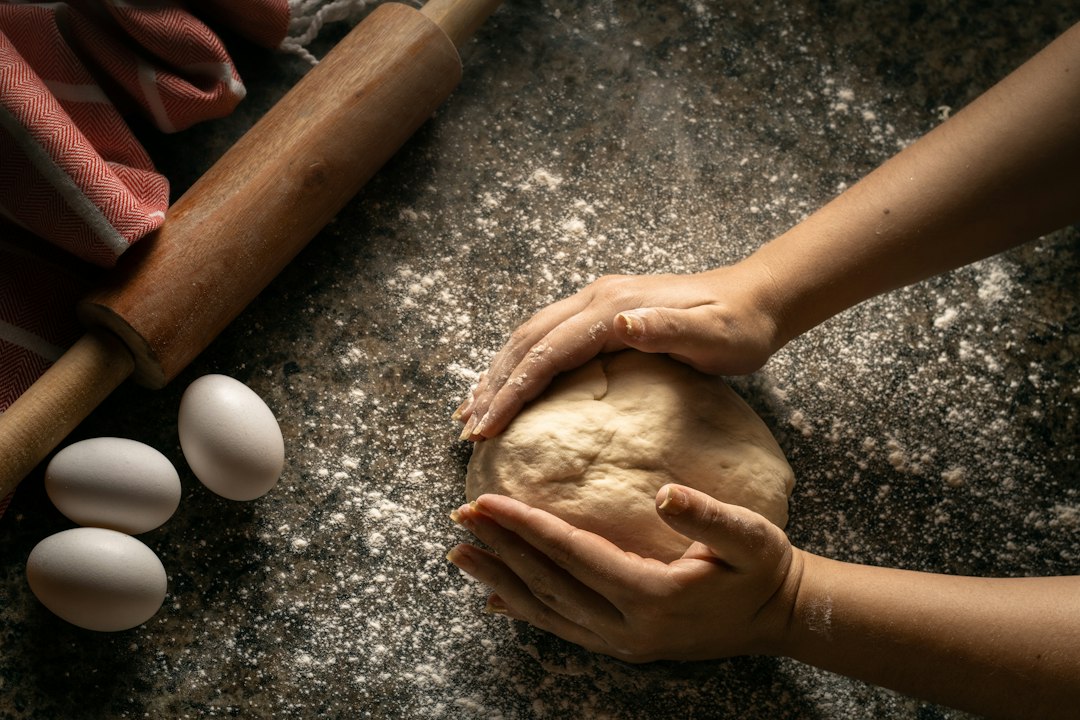
If you’ve been hunting for a clear, reliable path to homemade pizza dough that fits busy schedules and different ovens, this guide is written for you. We’ll build your confidence step by step, from ingredients and hydration to fermentation, shaping, baking, and troubleshooting, so your pies come out crisp, airy, and flavorful—on weeknights or special weekends.
homemade pizza dough: Homemade pizza dough fundamentals
Good dough isn’t about a single magic trick. It’s about balancing three forces: ingredients, time, and temperature. When those align, the dough becomes easy to stretch, pleasantly elastic, and flavorful. If they’re out of balance, you’ll meet stickiness, tearing, dense crumb, or pale crust.
Here’s the foundation:
- Ingredients: Flour, water, salt, and yeast (or sourdough starter). Each ingredient changes texture, flavor, and how the dough behaves over time.
- Time: Dough needs time to relax gluten and develop flavor. That can be short and warm, or long and cool.
- Temperature: Warmer dough ferments faster. Colder dough ferments slower but often tastes better and is easier to schedule.
Mastering these three is easier when you use baker’s math (percentages), a simple fermentation plan, and a repeatable shaping routine. We’ll detail all of that, including how to scale dough for different party sizes and how to adapt to any oven.
Quick wins to keep in mind as you read:
- Weigh ingredients with a digital scale for consistency.
- Use cool water for long, cold fermentation; slightly warmer water for same-day bakes.
- Don’t overload toppings. Less is more if you want a crisp bottom and even melt.
- Preheat your bake surface—a steel, stone, or cast iron—for at least 45 minutes.
Ingredients and ratios: flour, water, salt, and yeast
Great pizza starts with the basics. Each component affects chew, browning, extensibility (how far the dough stretches), and flavor.
Flour
Flour choice sets the baseline texture. Protein content and milling style matter:
- 00 flour (about 11-12.5 percent protein): Milled very fine. Helps create tender dough that stretches smoothly. Often paired with high-heat baking for soft yet blistered crusts.
- Bread flour (12-13.5 percent protein): Stronger gluten network for chewier crusts. Works well in home ovens where slightly more structure helps.
- All-purpose (10-11.5 percent protein): Versatile and accessible. With proper hydration and fermentation, AP flour can produce excellent results.
You can blend flours. For example, two parts bread flour to one part 00 flour yields nice strength with gentle handling. If your dough tears easily, try a blend with a bit more bread flour. If it resists stretching (springs back), swap some bread flour for 00 or add a slightly longer rest.
Water
Hydration (the ratio of water to flour) steers everything from extensibility to open crumb. Higher hydration can produce larger air pockets and a lighter interior but is stickier to handle. Lower hydration is easier to shape and still delicious when fermented well. We’ll map hydration to styles in the next section.
Salt
Salt does more than season. It strengthens gluten, moderates fermentation, and enhances browning. A common range is 2 to 2.7 percent of flour weight. If your dough ferments too fast, a nudge upward in salt percentage can help rein it in; if it’s too slow (and temperature is already warm), a small reduction may help—but adjust gently.
Yeast or starter
Active dry or instant yeast are both fine. Instant yeast disperses easily and is often used at lower quantities. Active dry needs rehydration (blooming) in water before mixing. Sourdough starter brings lactic and acetic tang and longer keeping quality, but scheduling can be trickier. The good news: you can adapt any workflow you learn for commercial yeast to sourdough by adjusting time and temperature.
Hydration and baker’s math, demystified
Baker’s math helps you convert any recipe to the size or style you want. Flour is always 100 percent. Everything else is expressed as a percentage of the flour weight. If you have 1000 grams of flour and want 65 percent hydration, then water is 650 grams.
Common hydration targets by style (guidelines, not rules):
- Neapolitan-ish (very hot oven): 60–65 percent
- New York-ish (home oven 500–550°F / 260–290°C): 62–68 percent
- Sheet-pan/Sicilian: 70–80 percent (higher for more open crumb)
- Thin and crisp: 55–60 percent
Adjust hydration by flour type and climate. If your kitchen is dry or your flour is very strong, a slightly higher hydration can help tenderness. In humid climates or with weaker flour, trim hydration by one to two points for easier handling.
Here’s a sample formula for two 12-inch pies (New York-ish):
- Flour (100 percent): 500 g
- Water (65 percent): 325 g
- Salt (2.2 percent): 11 g
- Instant yeast (0.2 percent for cold fermentation; 0.5 percent for same-day): 1–2.5 g
For same-day bakes, more yeast and warmer dough temperatures move fermentation along quickly. For overnight or 48-hour dough, reduce yeast and use cool water, then store the dough in the refrigerator to slow fermentation and build flavor.

Fermentation timelines: room temperature vs cold
Fermentation is flavor and handling. Gluten relaxes, gas builds, organic acids develop, and the dough transforms from pasty to supple. You can get good dough same day, but many cooks prefer cold fermentation because it makes scheduling easy and the dough stretches like a dream.
Room-temperature (same day)
- Mix: Combine water, flour, yeast, and salt. Mix until no dry bits remain; rest 20–30 minutes for autolyse if you have time.
- Develop: Knead 5–8 minutes or use stretch-and-folds over 45–60 minutes to build strength.
- Bulk rise: 1–3 hours at about 75°F/24°C until roughly doubled and soft.
- Ball and rest: Divide, ball, and rest 30–60 minutes before shaping.
Same-day dough is convenient, but watch temperature carefully. If it’s very warm, reduce yeast. If it’s cool, extend times slightly.
Cold fermentation (overnight to 72 hours)
- Mix: Use cool water (around 65°F/18°C). Add yeast sparsely (0.1–0.3 percent).
- Develop: Knead lightly or use a few stretch-and-folds.
- Cold bulk or balled rest: Immediately refrigerate the entire mass (bulk) for 12–24 hours, or divide and ball first, then refrigerate.
- Warm-up: Remove dough from the fridge 1–3 hours before baking, until the dough feels puffy and relaxed.
Long, cold fermentation yields a dough that stretches with minimal tearing and bakes with better color and aroma. If the dough overproofs in the fridge (balls look blown and loose), use them sooner next time, lower yeast slightly, or chill faster.
Kneading, mixing, and the stretch-and-fold toolkit
You can develop gluten several ways. Choose one that fits your energy, equipment, and schedule.
- Spiral or stand mixer: 5–8 minutes on low to medium-low. Watch for a smooth, slightly tacky dough that clears the bowl but still clings to the bottom. Avoid overheating; warm dough ferments too fast and can turn sticky.
- Slap-and-fold by hand: Great for medium hydrations. A rhythmic lift, slap, and fold motion for 5–7 minutes builds strength quickly.
- Stretch-and-fold: For higher hydrations or minimal effort. Rest 20–30 minutes, then lift one edge, fold to the center, rotate the bowl, and repeat 4–6 times. Do two or three rounds spaced 20–30 minutes apart.
Signs the dough is ready for bulk ferments or the fridge: It’s smoother, more elastic, and holds a soft dome. If it tears during stretching, it needs more rest or a bit more development. If it resists stretching and snaps back, rest longer so the gluten relaxes.

Scaling and essential equipment
You don’t need a pizzeria’s toolkit. A few well-chosen items transform the experience and outcomes:
- Digital scale: Consistent measurements are the quickest path to repeatable success.
- Mixing bowl or dough tub with lid: Clear plastic containers help you see fermentation progress.
- Dough scraper: For clean countertop work and gentle handling.
- Bench knife: For dividing and balling without deflating.
- Pizza peel: Wood for launching, metal for retrieving. If you’re new to launching, dust the peel with a 50/50 blend of flour and semolina.
- Baking surface: A pizza stone or steel concentrates heat for better oven spring and browning. Cast iron skillets or griddles also work well.
- Thermometer: Optional but helpful. Knowing your oven and dough temps improves consistency.
Scaling formulas: If you want three 12-inch pies, each ball around 250–280 g is typical for thinner New York-ish crusts. Multiply your base formula by 1.5 if your original makes two balls. For pan pizzas, weigh dough based on pan size; a 10×14 inch pan often uses 550–700 g of dough depending on thickness preference.
Storage containers matter, too. Lightly brushed oil in individual deli containers keeps balls from sticking and makes transfer to the bench cleaner. If you proof in a tray, give the balls ample space to avoid merging as they puff.
Shaping, topping discipline, and bake order
Shaping is where you feel the payoff of good fermentation. Well-fermented dough opens with little resistance and little flour.
Shaping steps
- Flour the bench lightly. Excess flour burns and leaves raw patches on the underside.
- Turn out a dough ball. Dust the top gently, then flip so the sticky side faces up.
- Press the center outward with your fingertips, leaving a 1-inch rim. Rotate as you press to form the base.
- Lift the disk over your knuckles and let gravity stretch the center. Move your hands around the edge for an even circle.
- Finish on the peel or in the oiled pan. Fix any thin spots by nudging dough from thicker areas.
Avoid rolling pins, which press out gas that you worked to develop. If the dough resists, let it rest for 5–10 minutes and try again.
Topping discipline
- Sauce: Thin, not watery. Consider simmering or draining if your sauce is wet.
- Cheese: Dry it if needed. Overly moist cheese can pool and steam the crust.
- Spreading: Leave the rim exposed. A clean cornicione (edge) puffs better.
- Sequence: Sauce, cheese, then toppings—unless you’re intentionally doing cheese-first styles.
- Less is more: Heavy toppings steal heat from the crust. For crisp bottoms, show restraint.
Final check before baking: Give the pizza a little shimmy on the peel. If it sticks, lift one edge and blow a bit of air under, or add a tiny dusting of semolina under the glue points. Build fast—work efficiently to avoid the dreaded peel stick.
Oven setups: steel, stone, cast iron, grill
Home ovens vary, but every setup can produce excellent results with a few tweaks.
Pizza steel or stone
- Placement: Upper-middle or top rack often browns best while keeping the cheese from overcooking.
- Preheat: At least 45 minutes at your hottest safe setting (often 500–550°F / 260–290°C).
- Broiler assist: For blistering tops, switch to the broiler for the last 60–90 seconds—watch closely.
Cast iron
- Method A (skillet): Preheat the skillet, shape dough slightly smaller than the pan, lay it in, top quickly, and finish under the broiler.
- Method B (griddle/plancha): Preheat on the stovetop, stretch dough, lay it on, top fast while the underside sets, then finish under the broiler or in a very hot oven.
Outdoor grill
- Direct then indirect: Grill one side of the stretched dough quickly, flip, top the grilled side, then move to indirect heat to finish.
- Close the lid: Trap heat for melt and browning. Keep an eye on hotspots and rotate as needed.
Whatever the surface, avoid launching on a cold pan or stone. Heat is your springboard to lift and color.
Styles and variations: choose your path
Once you’ve nailed the fundamentals, choose a style and refine.
Neapolitan-ish
- Hydration: 60–65 percent
- Flour: 00 or a blend with all-purpose
- Fermentation: Cold 24–48 hours, warm 1–2 hours before bake
- Bake: Very hot (ideally 700–900°F / 370–480°C with specialty gear), but you can simulate in a home oven by using a steel and broiler finish
Expect soft center, puffy cornicione, leopard spotting. Keep toppings minimal and fast-melting.
New York-ish
- Hydration: 62–68 percent
- Flour: Bread or a bread/AP blend
- Fermentation: Cold 24–72 hours
- Bake: 500–550°F / 260–290°C on steel or stone
Crisp yet flexible slices, slightly thicker center than Neapolitan, and balanced toppings.
Sheet-pan/Sicilian
- Hydration: 70–80 percent
- Pan: Oiled well; dough proofed in pan for a bubbly crumb
- Bake: 450–500°F / 230–260°C until edges are deeply browned
Expect an airy interior, crunchy edges, and topping flexibility. Parbaking the crust before saucing and topping can help keep bottoms crisp.
Sourdough option
Replace yeast with 15–25 percent ripe starter (relative to flour weight). Use cool dough temperatures and allow 24–72 hours cold fermentation. Adjust timing based on starter strength and acidity. Flavor will be more complex, and the dough often keeps well for an extra day.
Gluten-free note
Gluten-free pizza relies on a different framework—starches, gums, and hydration strategies. While beyond the scope of this guide, the same principles apply: weigh ingredients, rest the batter or dough to hydrate fully, and use a blazing hot baking surface for crispness. Seek reputable formulas that balance rice flour, tapioca starch, and binders for structure.
Troubleshooting: sticky, tough, pale, or dense
Even pros troubleshoot. Use this field guide to diagnose and correct common issues.
Sticky dough
- Likely causes: Hydration too high for your flour, dough too warm, or insufficient gluten development.
- Fixes: Drop hydration by 1–2 percent next time, keep dough cooler, or add one extra round of stretch-and-folds early in bulk. Lightly oil hands instead of adding flour in bulk.
Tears while shaping
- Likely causes: Underdeveloped gluten, insufficient rest, or overly aggressive handling.
- Fixes: Add a 10-minute bench rest. Next time, add a few gentle folds during bulk and avoid overmixing to the point of tightness.
Tough or bouncy dough
- Likely causes: Too much strength without enough rest; protein content too high for your method.
- Fixes: Increase rest times. Consider swapping a portion of bread flour for 00 or all-purpose. Keep salt within the typical range; very high salt can tighten dough.
Dense crumb
- Likely causes: Underfermentation, heavy toppings, insufficient heat in the baking surface.
- Fixes: Proof longer. Preheat the steel/stone thoroughly. Use fewer toppings and drain watery ingredients.
Pale crust
- Likely causes: Low sugars in the dough or inadequate heat.
- Fixes: Ferment longer for natural sugar development, raise bake temperature or use the broiler briefly. A small amount of sugar or diastatic malt (used cautiously) can enhance browning in cooler ovens.
Gummy middle
- Likely causes: Sauce too wet, overly thick dough center, or oven floor not hot enough.
- Fixes: Reduce sauce moisture, stretch evenly thinner at the center, and ensure thorough preheat.
Workflow for busy schedules
Pizza night is more fun when you control the clock. Here are adaptable plans.
48-hour flavor plan (hands-off)
- Day 1 (evening): Mix with cool water; knead briefly; ball and refrigerate immediately.
- Day 2 (evening): Do nothing—just let time work.
- Day 3 (afternoon/evening): Remove dough 1–3 hours before baking, top, and bake.
Same-day plan (after work)
- 12:00 p.m.: Autolyse (optional) or mix before work and refrigerate.
- 5:30 p.m.: Bring dough to room temperature; do one or two gentle folds.
- 6:30 p.m.: Ball and rest 30–45 minutes.
- 7:30 p.m.: Shape, top lightly, and bake.
Entertaining plan
- Make dough two days before. Ball on day one or morning of day two.
- Set out a topping bar with a modest selection—quality over quantity.
- Preheat steel/stone one hour before the first pizza. Assign one person to launch, one to slice.
Leftovers and midday prep are easier with a little planning. Sauce, cheese, and toppings can be prepped up to three days ahead. Keep cooked toppings (like sausage or mushrooms) in separate containers to avoid soggy mixes.
Storage, freezing, and reheating
Good dough gives you options before and after baking.
Storing dough
- Short term (1–3 days): Keep balled dough in lightly oiled containers in the fridge. Vent lids slightly the first hour so pressure doesn’t build, then seal.
- Medium term (4–7 days): Dough quality starts to drift. If you need longer, freeze.
Freezing dough
- Best time: After balling and a short rest (30 minutes), wrap each ball tightly in lightly oiled plastic or use freezer-safe zip bags.
- Thawing: Move to the fridge 12–24 hours before use. Then bring to room temperature for 1–2 hours; the dough should feel lively.
Reheating pizza
- Skillet method: Medium heat, pizza slice in dry skillet 2–3 minutes to crisp bottom; cover for 30–60 seconds to melt the top.
- Oven method: 400°F/205°C for 6–10 minutes on a preheated sheet or stone.
- Air fryer: 350–375°F / 175–190°C for 3–5 minutes; monitor closely.
Avoid microwaving, which softens crust. If you must, do very short bursts and finish in a hot pan to re-crisp.
Flavor builders and smart tweaks
Once you can hit consistent bakes, explore subtle upgrades:
- Preferments: A quick poolish (equal parts flour and water with a pinch of yeast, fermented 8–12 hours) deepens aroma and improves browning.
- Oil: One to two percent olive oil in New York-ish dough can enhance tenderness and browning in home ovens. Skip oil for classic Neapolitan style.
- Malt or sugar: Tiny amounts improve browning in cooler ovens. Use carefully; too much accelerates fermentation and can lead to overbrowning before the center cooks.
- Spices: A pinch of garlic powder or oregano in the dough lends a subtle background note. Keep it light so it doesn’t compete with toppings.
These tweaks shouldn’t replace time and temperature control. Think of them as gentle nudges rather than core strategy.
Altitude, climate, and flour variability
Environment affects dough. Higher altitudes lower atmospheric pressure and water boils at lower temperatures, changing evaporation and proofing. Dry climates can tighten dough; humid climates may slacken it.
- Altitude: Proof times often shorten. Watch the dough, not the clock—look for soft, puffy dough that responds to a fingertip dent by slowly springing back.
- Heat: Warm kitchens speed fermentation. Use cooler water or reduce yeast.
- Humidity: Very humid days may call for a small hydration reduction to control stickiness.
- Flour shifts: New bags can behave differently. Adjust hydration by one to two percent as needed.
Keep a simple notebook or a digital note with date, flour brand, hydration, ambient temperature, and a quick bake result (color, lift, chew). Two or three weeks of notes reveal patterns and make your adjustments nearly automatic.
Complete example formulas and schedules
Use these as templates and adjust to taste and climate.
New York-ish, 48-hour cold ferment (two 12-inch pies)
- Flour: 500 g (bread flour)
- Water: 325 g (65 percent)
- Salt: 11 g (2.2 percent)
- Instant yeast: 1 g (0.2 percent)
- Olive oil: 10 g (2 percent) optional
Mix to a shaggy dough, rest 20 minutes, then knead 5 minutes. Ball and refrigerate immediately for 48 hours. Pull out 2 hours before baking. Bake on a steel at 525°F/275°C for 6–8 minutes, finish under broiler if needed.
Neapolitan-leaning, 24–36 hours (two 10–11-inch pies)
- Flour: 500 g (00 flour)
- Water: 310–325 g (62–65 percent)
- Salt: 12 g (2.4 percent)
- Instant yeast: 0.8–1.2 g (0.16–0.24 percent)
Mix gently, two rounds of stretch-and-folds 20 minutes apart, then bulk cold 18–24 hours. Ball, return to cold 6–12 hours. Warm 1–2 hours and bake hot and fast with broiler assist.
Sheet-pan crowd-pleaser, same day
- Flour: 500 g (AP or 50/50 AP and bread)
- Water: 350–375 g (70–75 percent)
- Salt: 11 g (2.2 percent)
- Instant yeast: 3 g (0.6 percent)
- Olive oil: 15–20 g (3–4 percent), plus more for the pan
Stretch-and-fold twice during the first hour. Proof in a generously oiled pan until very puffy. Dimple, top, and bake at 450–475°F / 230–245°C until edges are deep golden.
Frequently asked questions
Can I mix by hand if I don’t have a stand mixer? Absolutely. Use slap-and-fold for five to seven minutes, or do multiple rounds of stretch-and-folds. Your hands give you excellent feedback—stop when the dough feels smooth and cohesive.
Do I need sugar? No. Time and proper fermentation generate natural sugars. If your oven runs cool and crusts look pale, a small addition of sugar or malt can help. Keep it modest.
Why does my dough taste yeasty? Likely overproofed or too much yeast for the timeline. Reduce yeast or shorten time. Cold fermentation with low yeast produces cleaner flavor.
Is autolyse necessary? Not required, but helpful. A 20–30 minute rest after mixing flour and water (before adding salt and yeast) improves extensibility and overall handling, especially with higher-protein flours.
What if my oven only reaches 450°F / 230°C? Use a steel or stone, preheat thoroughly, and rely on a broiler finish. Slightly thinner dough and restrained toppings help achieve crispness and color.
Build your own signature pizza
Once the dough is predictable and the bake is hot, creativity shines. Consider a simple base (tomato or white), two cheeses with different melt behaviors, one savory topping, and one fresh accent added after baking (like basil, arugula, or lemon zest). Keep a light drizzle of good olive oil to finish. As you learn how each element behaves, you’ll tune hydration, fermentation, and heat management for your unique kitchen.
For more kitchen basics and weeknight-friendly ideas, explore Life With C. Keep notes, be patient with the process, and enjoy the aromas that tell you you’re seconds from dinner.